


Jan 29, 2024
8 | Resorting to memes for humour
- Izzy Foo
- Mar 25, 2024
- 4 min read

Updated: May 8, 2024
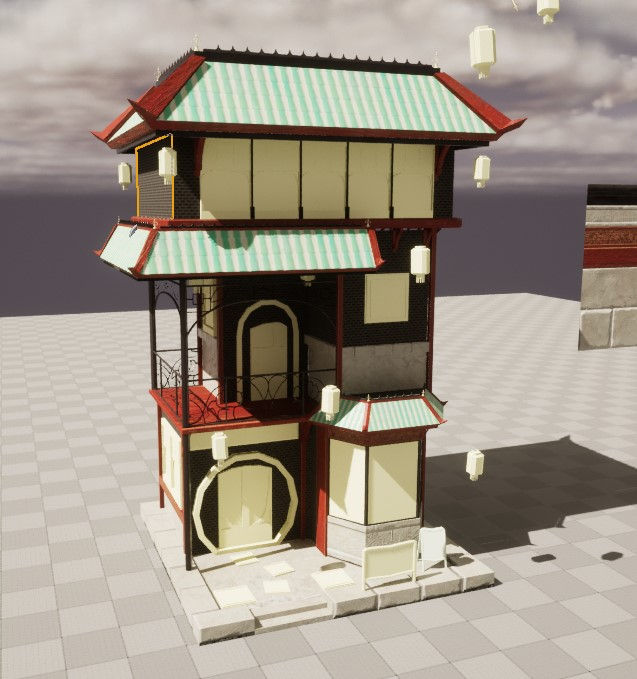
I was in a texturing mood when I sat down to work on my restaurant this time, so I resolved myself that I was going to finish my trim sheet.
The first step I took here was re-exporting it for substance painter – both the high and low poly as I did not know what was causing the issue with the UV’s not working. I’m still not sure what was different about this export, but this time the material worked! I was able to texture! Another thing that changed with this is that the bake was not so contrasted. Still unsure as to why, I did just go with it, but this bake had a good range of values and all of the surface detail carried through. Thank you, Substance-Painter-God?
I created the stone first, I wanted to go with this warm toned limestone brick texture. This was great fun to create, playing with different levels of roughness to show wearing and unintentional polish in the stone and a lot of warm/cool hue variation.
The other texture I created was a red painted wood. I messed a lot with the hue and saturation before landing on a cool-toned red. My colour palette for this project has, without my permission, pushed itself towards cool tones.
I don’t usually work with cool tones – preferring to keep them as accents, however I’m enjoying the slightly dingy look its giving. I associate warm tones in environments with non-realistic, controlled environments, so the cool tones in these materials pull this building away from that, towards a more natural lighting.

Trim sheet trim sheet trim sheet >:)
I imported the trim sheet into Maya and started assigning to UV shells. Never have I been so thankful that I did all my UV’s beforehand than this moment.

I wont lie, this took a While.
While assigning the trim sheets I noticed that the stone looked out of place, with the warm tones I had built up not feeling homogeneous with the hues of the rest of the building. I went back into substance painter and changed the hues to a cooler toned grey with less variation as to not look so busy. This vastly improved the look of my building, and I did not need to make further adjustments to the trim sheet.
Now that was all done, It was time to move on. However, Maya had other ideas.
Right at the start of the year, the lecturers stressed how you should always keep backups of your work. Always.
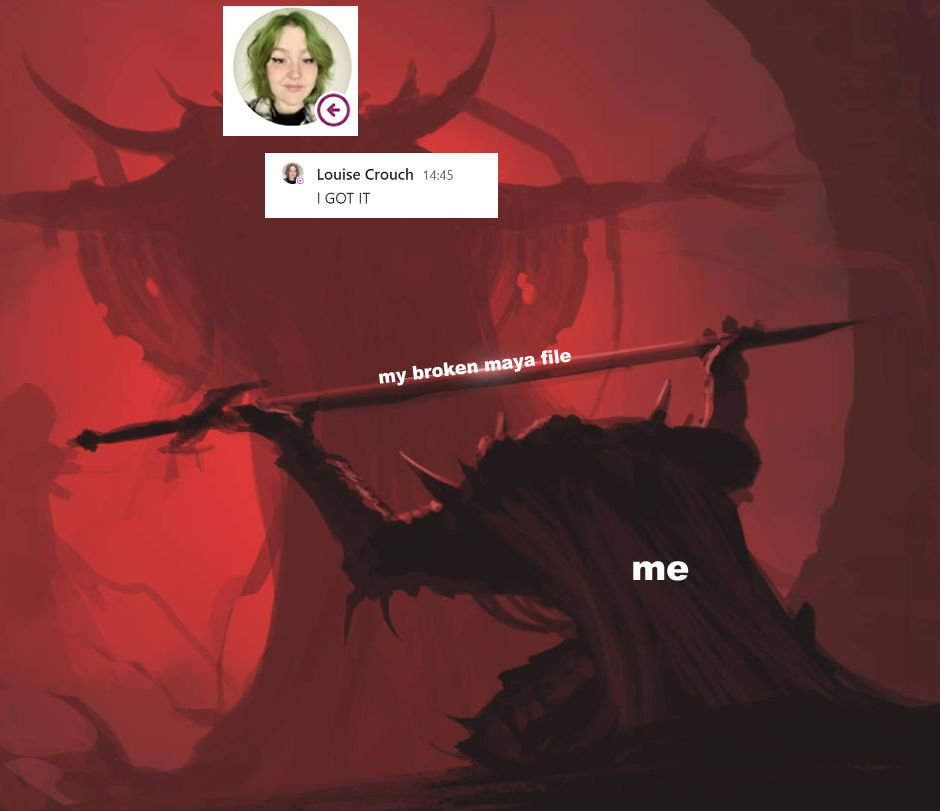
Me, being young and naiive, was like Yes!!! I will do this!! And then proceeded to never make backups of my work. Cut to this morning. Got up, breakfasted, and made a load of progress, including making lanterns and updating the walls so they are half-stone. Brilliant! So, I go down to the warehouse after lunch to continue, and when I try to open the file it. Has. Corrupted.
Anyway- Shout out to Louise Crouch for saving my ass and recovering my work! If no one got me I know Louise got me!
This is a lesson to all of you, listen to your professors when they say to save your work!!!
I wanted to tackle the bay windows next, and that meant back into substance designer. My plan for these windows was to make a base material consisting of connected shards of stained glass, and then paint on the iron material from the trim sheet after the bake in substance painter.
Starting with cells and a flood fill, I quickly made a rudimentary stained-glass material. Having completely forgotten how to make a normal map and add texture, I just left it as that for now. I could always do texture in substance painter later.
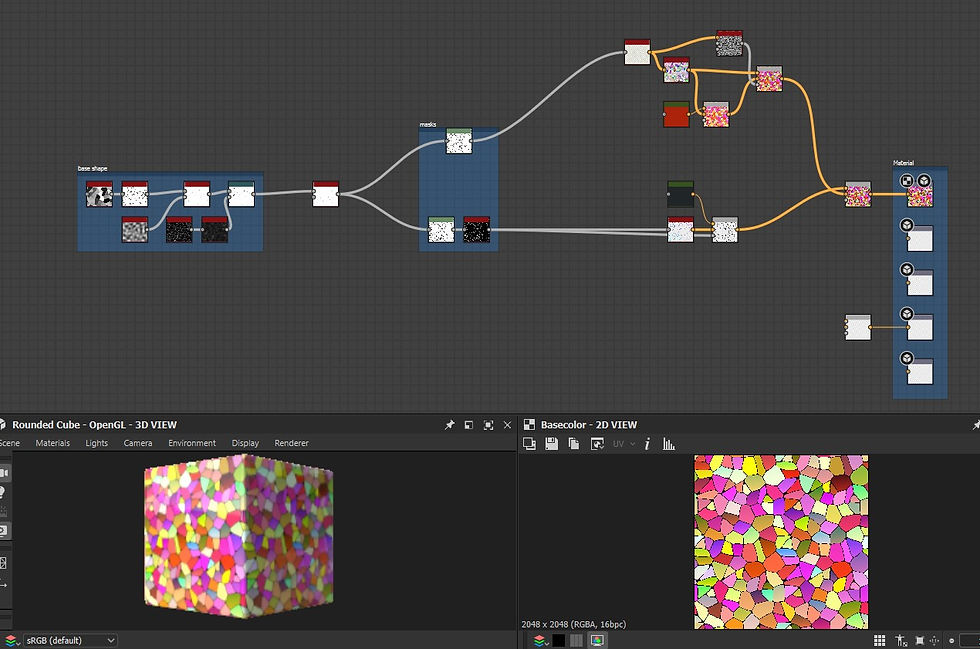
Importing this into Unreal, I saw I had the same problem as with the stone, my colours were too warm, at some point I would have to go back to designer and add an overlay in a sort of green colour to tie in the glass to the roof tiles.
I also updated the lights inside the lanterns and switched to an emissive material as opposed to an external light, This will make it easier to control the light as a unit instead of having to go through each lantern individually and changing them. I can also make material instances, in which I can change the emission level and colour of light through use of parameters. I also took this further and used the same technique to add a small amount of emission to the bay windows.


I was under the impression that a material instance does not cost draw calls, but user darthviper107 on the unreal engine forums is very certain that “A material instance will still cost a draw call.”. Now as I am unable to state less draw calls as a reason to use material instances, I will instead repeat my earlier point about the ease of adjusting parameters instead of making whole new materials from scratch.


REFERENCES
User ‘darthviper107’ commenting on user ‘anonymous_user_adc3f730’. 2016. Clear up how expensive material instances really are? [online] Available at: https://forums.unrealengine.com/t/clear-up-how-expensive-material-instances-really-are/80955/2. forums.unrealengine


Comments