


Jan 29, 2024
5 | Lego Sets
- Izzy Foo
- Mar 4, 2024
- 3 min read

Updated: May 8, 2024
The Lego begins to take shape, now to the walls.
Generate a plane, set the grid, snap the vertices, repeat.

At this point I was still unsure at how much detail I was supposed to be modelling, so the walls are very bare, and my plans at the time were to place extras such as windows on top of this.
To check my Lego pieces were functional I made mock-ups of each room – which I’m very thankful I did as I found multiple discrepancies within my measurements and in the pieces themselves in which they were not snapping to the grid. These errors were fixed, and pieces updated.
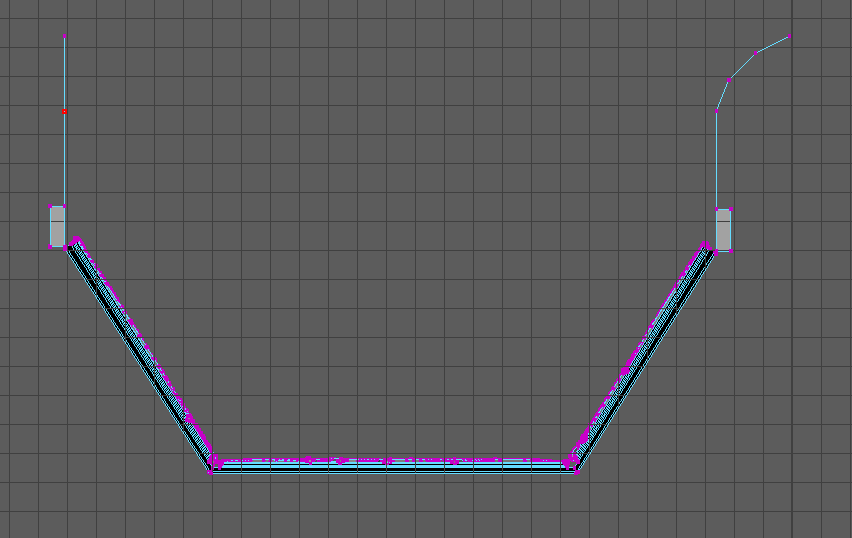
After the walls I went on to create the bay window, this was interesting as I had a plan to create this curved, flowing ironwork within the window, complete with stained glass. My original idea was to snap the curves to an axis and position them manually, but one of the assistant lecturers informed me about the live surface tool.
Through this I was able to draw the curves directly onto the window shape, then creating meshes from the curves and target welding some of the geometry to help it flow more evenly.I treated this model as a high-poly and made it as such, all the edges were bevelled nicely and I would have been really difficult to UV unwrap.
What an interesting sentence I have chosen to write, I’m sure nothing will come of this later.

I struggled with the geometry on the ironwork. My first port of call to clean it up was Zbrush, combining and importing it. Dynameshing did fix the overlapping mesh, but added too many vertices to justify using on a window. A side goal here is to keep the geometry as simple as possible – for my own sanity when unwrapping, and for loading times for an asset.

My next attempt at automating this process came from Maya reduce and retopologies. No joy.
Fine. I will manually fix my geometry ☹

I wasn’t sure where to go from here as I still had questions about how detail heavy I should go on this mesh. So I made 2 versions of a floor panel. The first version is very simple – with no bevels or randomisers – and the second version contains both of those things. [both floors]I want to have the outer layer of bricks look like they were placed by hand and to have worn edges- the method here creates that effect. The problem with this is that I would have no clue how to unwrap it so possibly not viable when modelling.
Taking a step back and also somehow simultaneously a step forwards, I dipped my nose into texture tiling sheets. Quite quickly I realised that the simpler approach to geometry would save me many unwrapping and texturing problems in the future. I went back and stared at my bay window, full of bevels and regret.
Not that the window was correctly, symmetrically made anyway lol.
Maybe it was fine?
It was not fine :(
To test my hopes of Politely Ignoring It, I made a very rough connecting roof piece and found out that I, in fact, could not Politely Ignore It. The roof piece did not snap correctly to the window and I could not follow the angle without it looking Wrong.
I was so close to being correct…
Anyway, no time like the present to fix past mistakes, no point dwelling on them! After a soup break, and making this piece another 4 times, I finally had it correct, complete with topologically okay railings. Yippee!
Now I could finish that roof piece.
Having fixed the symmetry and measurements on the window, the shape of the roof piece came together in a much simpler fashion. This piece called for more attention to detail than my singular-plane-walls, so I extruded the rough shape of some tiles, keeping the geometry simple enough to flatten onto a trim sheet but enough of a surface that it will warp the textures, showing the rises and dips.

Further incorrect-ness was found during the checks on the second-floor measurements where I had completely forgotten about leaving space for the wrap-around balcony (how tired was I????) and I had also not left enough space for a door, or even for a person to stand.A few changes to the lengths eyeballed fixed this. Another problem I had solved was that I now had to make 3 less wall pieces. The walls were now all multiples of each other, so only 1 piece was needed.
The Lego was Lego-ing :D

The active things to Get Done Rather Quickly now consisted of
-finish the lego set
-unwrap the lego set
Side note: Happy 6000-word mark!!!! I’m so sorry for anyone who must read this for marking purposes- I wish you great happiness!!!!


Comments